Modules
Modules are single units of instruction that allow instructors to organize course content by weeks, units, modules, or other organizational structures to control the flow of the course. A modular approach to course design helps organize your course in a logical way that both scaffolds knowledge and skills and highlights the narrative of your course. Each learning module includes components that flow in sequential order.
Create a Module
Folio’s content is organized by “learning modules.” To start creating content in Folio, you must first create a module.
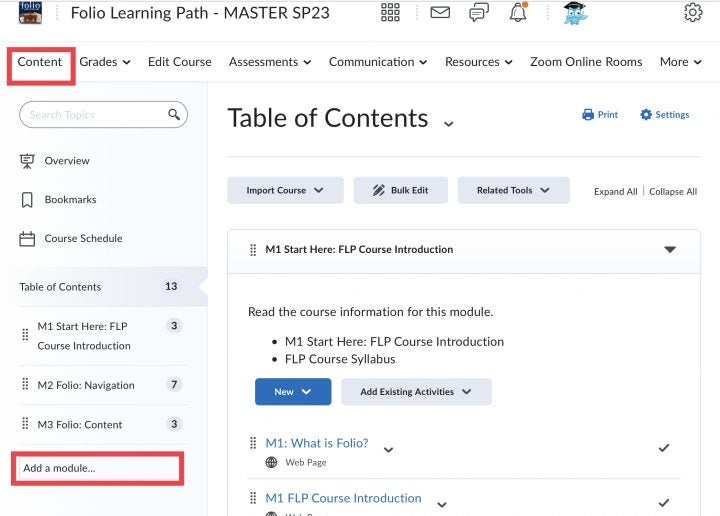
- On the navbar, click Content.
- In the Table of Contents panel, Click on Add a Module.
- Enter the name of your new module, and then press Enter.
Watch the video: Create a module and submodule.
Delete a Module
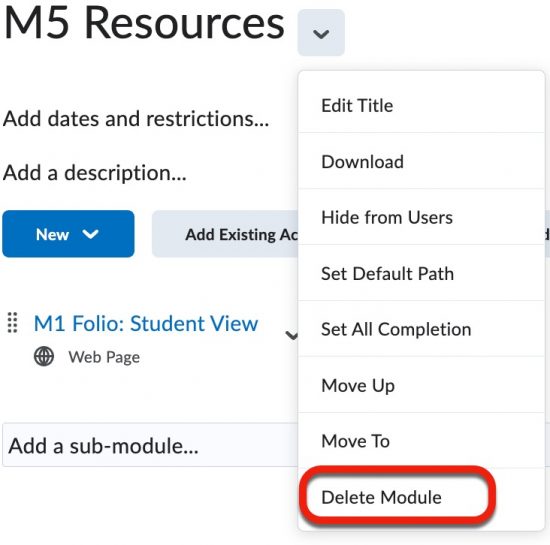
- Click on the down arrow next to the module title
- Select Delete Module
Creating Content
Content such as files, audio, video, links, assignments, discussion, etc (including external learning tools) can be added to Folio to supplement any course. Before creating new content pages/topics/files you must create a module. In this section Pages/Topics and Files are used interchangeably throughout.
- Open your Folio course.
- Select Content from the navigation toolbar to Open the Table of Contents.
- Select the module to add a new page/topic (files).
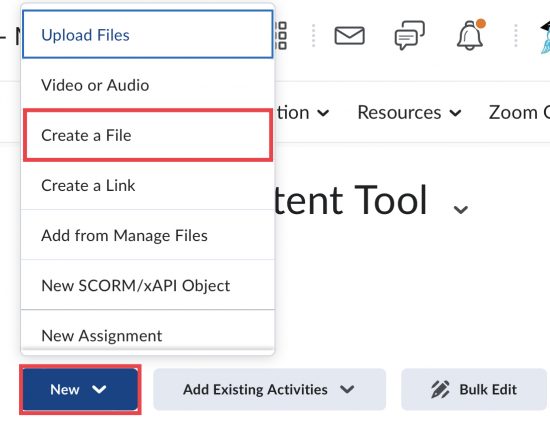
- Click the New button, select Create a File
- Enter a Title for the new page (file)
Note: This name must be unique from any other pages (files) because this is the file name in the Manage files area of your course. Use a short name that describes the page’s content or purpose. - Edit or Add content on the page
- Save and Close
Files uploaded to Content can be viewed and downloaded by users. Folio allows the upload of common file types such as PDF, DOC, DOCX, PPT, and PPTX. These files are displayed within a document viewer in the Content area.
- Open your Folio course.
- Select Content from the navigation toolbar to Open the Table of Contents
- Select the module to which you wish to add a document.
- Select the New Button
- Select Upload Files (video or audio; create new activities by scrolling down the list)
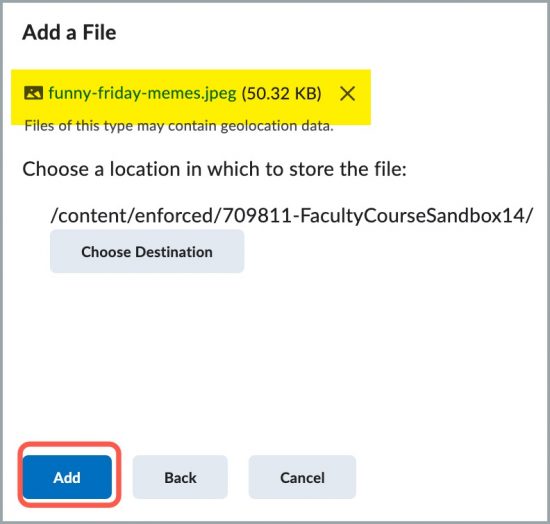
- In the Add file window, select the file and select the upload button to locate the file. You could also share a file from Google Drive by selecting Google Drive.
- Select the Add button.
The file will be placed at the bottom of your list in the module (use the grid on the left-hand side to move the file).
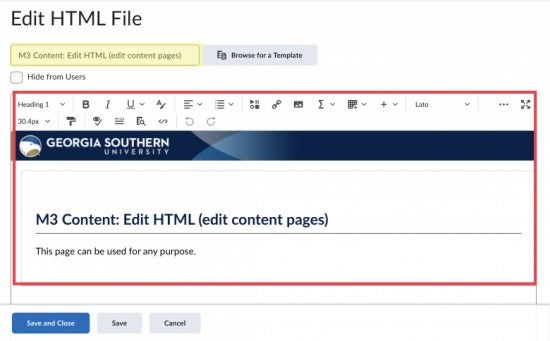
- Starting on an existing content page, Select Edit HTML from the drop-down to enter edit mode.
- Place your cursor on the page where you wish to embed the image.
- From the toolbar, Select the insert image button.
- Click on my computer
- Search for the file you wish to share
- Click Add.
- Follow the instructions to provide alternative text (Alt Text) for your image or mark it as “decorative.” Alt Text allows participants with visual impairments to navigate your content.
- Save and Close.